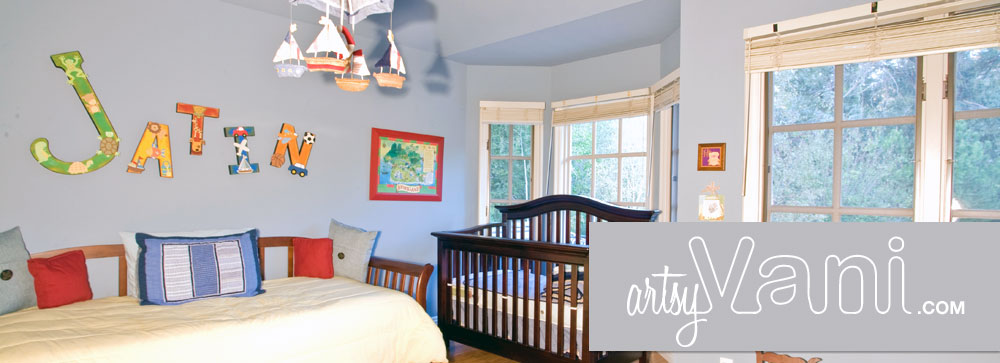
Have you ever flipped through catalogs and said “Wow that’s an awesome piece of art for my kids room”, and then you look at the price and go “Woahhh – not in my budget!” Well, when I had my first child, being a designer I had very high and sometimes very expensive ideas to decorate the nursery! I quickly started to realize that I would have to come up with some “crafty” and “artsy” solutions at home to create some key pieces to help visualize my idea and make them reality.
The first project I set out was to create was a custom giant name for my son’s room. I wanted it to be bright, poppy and fun! I also had one criteria, it had to be something that he could use for many years to come and not just as a baby.
The solution
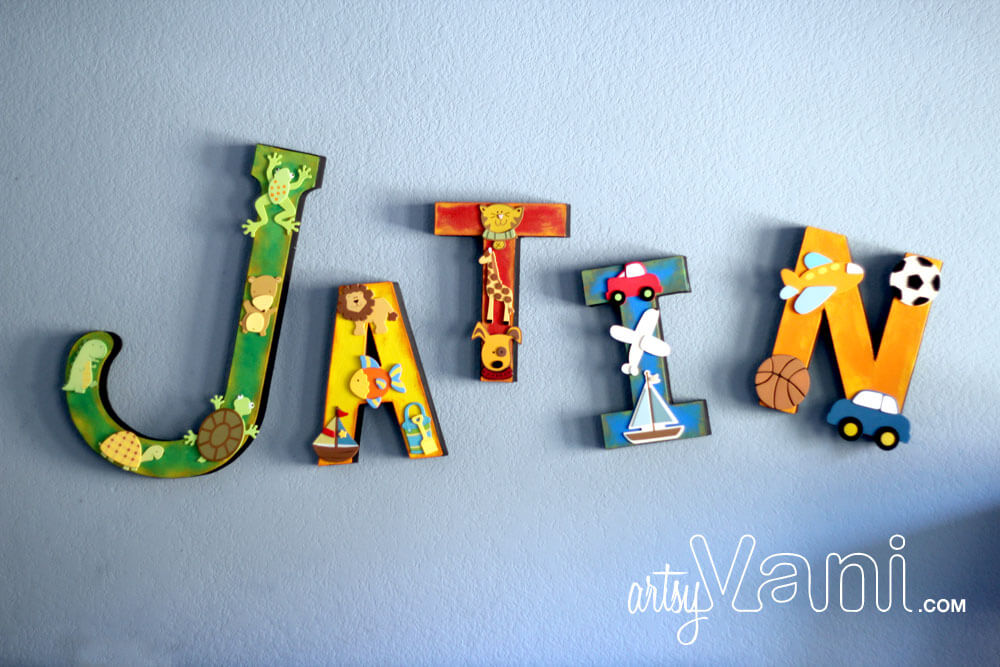
I found giant cardboard 3D letters at my local craft store. I bought the extra large size for the first initial and then the medium sized letters for the remainder of the name. I then use acrylic paint and a sponge roller and rolled on primary colored paints all over the front panel of each letter. (I did applied 2 coats to really make the color bright!)
Next steps
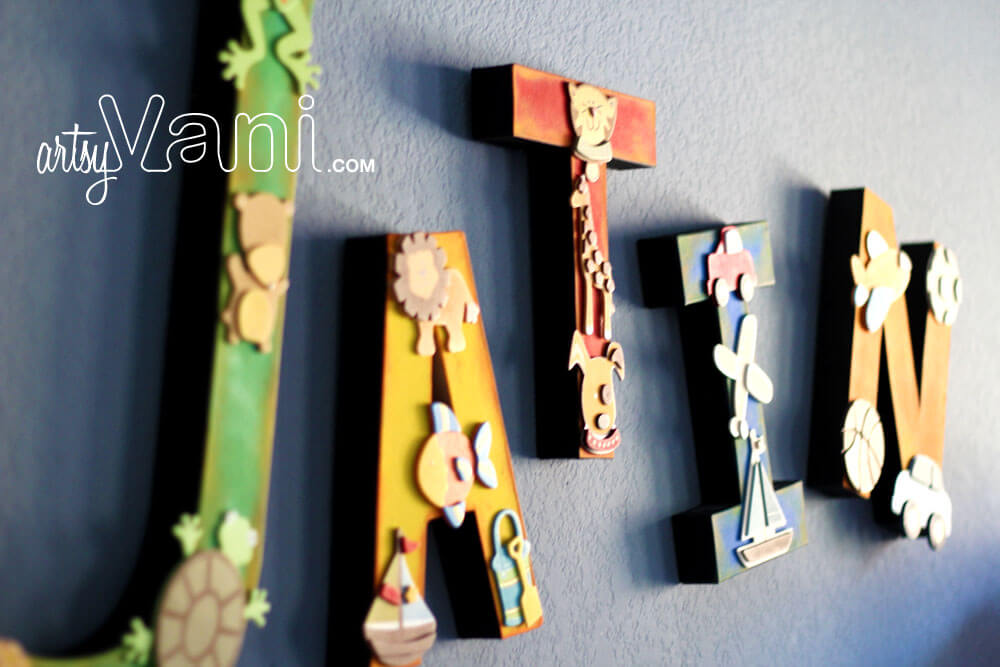
Once the letters dried, I took a contrasting color and with another sponge brush scuffed the edges of each letter to add a “vintage” look to the design.
Finishing Touches
I painted all the edges of the letters with flat black to make the 3D design really pop off the wall when hung. I also purchased beautiful painted wooden shapes themed for a boys room: sports, animals and vehicles and glued them on top of each letter.
The finished result is gorgeous and I always get rave reviews from parents and kids who see the letters! The best part is, they are fully customizable and are light weight so you don’t have to worry about them falling. The other huge benefit was the cost savings. Each letter runs about 7-12 dollars, and most of us already have craft paint at home. The wooden characters are about 25 cents to a dollar each.
Keep being creative! It keeps you happy 🙂 – Vani


